Today we focused on observational photography of people. While one person was being questioned about past haircuts, embarrassing incidents etc, the other person took photographs of the subject in mid conversation. This made you forget about how you looked for the camera so the end results looked really natural and different to any other photographs of myself. Usually photographs of myself are posed, e.g. with friends on a night out, but I didn't have time to think about composing myself as there was always a question to answer.
I really like the photos in the middle row, Libby looks really relaxed and like she's enjoying the shoot. The light falls nicely on her hair and skin throughout; I think she looks very radiant and natural on the far right photo on the second row.
30.9.11
29.9.11
28.9.11
Observational Photography // Chesterfield

While I was looking around Chesterfield, I tried to look for how people related to the surroundings. I liked the way the woman was dressed professionally as though she would work in a place like a bank and was stood next to a bank advertisment. In that way she kind of relates to the surroundings, but then you realise she's stood at a grubby bus stop with a "dirty beats" nightclub poster to the left and fast food advertistment to the right.
There is a similar relationship between the old man and the flower stall; in a way, he looks quite nostaligic, smoking a cigarette outside a coffee shop and enjoying the weather and blooms around him. But then you imagine the contrast between the beautiful scent of the flower stall and his cigarette smoke and realise him and his surroundings don't relate harmoniously.

As I was walking past a takeaway in the town centre, I noticed panels down the sides of the shop front with garish photos of fast food. I liked the contrast between the grubby drain and pavement and brightly coloured pop bottle images at the bottom of one of the panels; when I was stood looking down on them, it looked like they were sitting on the pavement like discarded alcohol bottles.
27.9.11
3D // Wire & Paper Sculptures
After I had constructed my wire "drawings" and explored the form of the needlethreader by making a series of drawings, I began to make paper sculptures based on the lines and shapes within the object.
After constructing paper sculptures and drawing them in my sketchbook, I made a wire version and incorporated techniques I had used in my 2D wire drawings into the 3D structure.
26.9.11
2D // Wire "Drawings"
After experimenting with wire, we chose an object and began to construct a 2D drawing of it using wire. I chose to study a needle threader. Although it was very small, it had lots of interesting features such as a raised surface, delicate triangular end and the side profile of a woman on the bell shaped top. To show tone and texture, I used different types of wire and attached it by winding wire around or the spot welder. To make the triangular end more distinctive, I used a hammer to flatten the wire.
I also used this technique on my second drawing (seen on the right) on entwined copper; this resulted in a beautiful wave of lines which I used to replicate the "W" shape at the bottom of the threader. By zooming in on a section of the threader, my second wire drawing became more abstract. I felt more comfortable experimenting with textures and shapes as it was obvious my "drawing" was not going to look anything like the object.
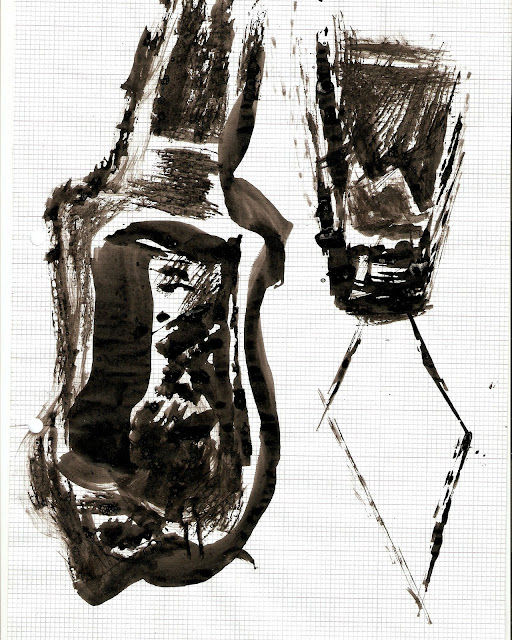
Below are drawings I did of the needlethreader using pen, ink, different papers, masking tape and shoe polish. This activity made me look closely at tones, lines and shapes within the object which would help me in the next stage-making 3D paper sculptures.
Below are drawings I did of the needlethreader using pen, ink, different papers, masking tape and shoe polish. This activity made me look closely at tones, lines and shapes within the object which would help me in the next stage-making 3D paper sculptures.
22.9.11
Observational Photography
 |
| I love the hazy reflections on the desks and ambient light from the red blinds; their glow makes the dimly lit classroom seem very atmospheric. |
;  |
| I love the striking lines and colours in this image. |
 |
| I like the impression this image gives of the library's emptiness and stillness. |
20.9.11
19.9.11
Suspended Objects // Composition
After concentrating on drawing just one suspended object the week before, we moved onto drawing many suspended objects to make us show more consideration for scale and composition.
 |
| Stage One // Outline: I added the basic shadows and outlines of the suspended objects onto a white painted background using ink. |
 | |
| Stage Two // Tone & Texture: Next, I worked more into the shadows to emphasise light and dark areas. I also added texture by scratching ink into the shadows using ink and sticks. |
Stage Three // Finishing Touches: I added more detail into the basic outlines that was lost while I'd worked into the paint to increase tone during stage two.
Subscribe to:
Comments (Atom)


