After experimenting with wire, we chose an object and began to construct a 2D drawing of it using wire. I chose to study a needle threader. Although it was very small, it had lots of interesting features such as a raised surface, delicate triangular end and the side profile of a woman on the bell shaped top. To show tone and texture, I used different types of wire and attached it by winding wire around or the spot welder. To make the triangular end more distinctive, I used a hammer to flatten the wire.
I also used this technique on my second drawing (seen on the right) on entwined copper; this resulted in a beautiful wave of lines which I used to replicate the "W" shape at the bottom of the threader. By zooming in on a section of the threader, my second wire drawing became more abstract. I felt more comfortable experimenting with textures and shapes as it was obvious my "drawing" was not going to look anything like the object.
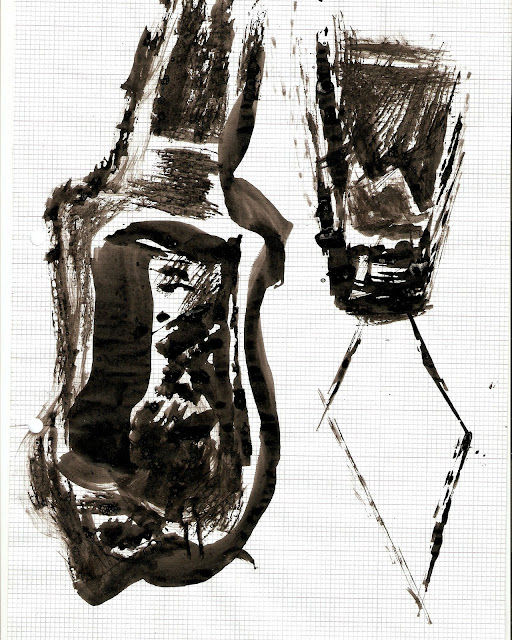
Below are drawings I did of the needlethreader using pen, ink, different papers, masking tape and shoe polish. This activity made me look closely at tones, lines and shapes within the object which would help me in the next stage-making 3D paper sculptures.
Below are drawings I did of the needlethreader using pen, ink, different papers, masking tape and shoe polish. This activity made me look closely at tones, lines and shapes within the object which would help me in the next stage-making 3D paper sculptures.


No comments:
Post a Comment